

One of the main ingredients of any fine painting is the composition … enter David Jenner who is a professional photographer – it was indeed his competition winning photograph that we worked from to complete this painting, many thanks David for allowing us to use the photograph a copy of which is included in this blog. To see more of David’s work visit his website at www.davidjenner.co.uk.
Ship shapes are wonderful shapes to work from or to. We have in many classes painted boats and ships and it is a matter of perspectives, a ship shape that is flat will not – literally – float, it will sink painting wise. You need to be prepared if you want to concentrate on marine art to learn how to draw boats. They are symmetrical shapes that make sense, that is the easiest way to regard this subject without initially taking a drawing course on How to Draw Marine Art.
For this painting: make a detailed drawing of the shipwreck, use a ruler or any other mechanical aid you see fit. Consider the scale of the overall shape as opposed to the scale of the boat in the background. Add the horizon line as a useful guideline. Watercolour techniques to use: pen and wash painting, which would lend itself perfectly to all the wood sections, curves, lines and shapes on the shipwreck. I used soluble pen as I like the result of adding water to the ink and creating pools of ink that merge and move into each other. Always start with the focal point so start with the shipwreck. The amount of detail you add is your own choice. Another technique to consider is working in glazes where you let the first layer of paint dry and keep going to subsequent layers (working wet on dry) until you reach the level of tone that you require. I used pen and then glazing. For a more traditional watercolour approach: use lighter washes of your colours – transparent watercolours have a quality that no other medium can achieve – the best medium for any artist to study and learn.

Complete your shipwreck before you move on to any other element of this painting. Now as you can see I made the sky very moody but as you can also see from David’s photograph it was lighter than my interpretation. Again, a personal choice for you to make.
After completing the shipwreck I worked on the mud, a fascinating subject to paint. You have to make this look like sludge – the very word watercolour makes you realise that this medium is perfect for muddy, sludgy ideas. I used a large round headed brush, I mixed a chromatic black (burnt umber and ultramarine blue with a burnt umber bias so the mix was 60/40%). I had three grades of wash of this mix ready, I worked dark to light using large swift brushstrokes to represent the darker areas of mud, I then used the medium wash and completed the same process, keeping my brushstrokes union in shape and direction so the viewer of this painting understands this is sludgy and all these individual shapes make one easily understandable overall body of mud. I left some areas of the paper white – another key ingredient of a watercolour painting, but right at the end of this process I painted over the lightest tone of my mud colour on some of those white areas.
The Grass areas – use three different green mixes, I used a Leaf Green and added varying amounts of my chromatic mix so they look like natural colours and not “tube green”. I took a fan brush, which is ideal for grass, and used short sharp vertical/diagonal strokes to give some movement to the grass. One technique I did not use is to underpaint with yellow, which would also be a technique to consider for this painting. Bear in mind that there is a particular skill in using a fan brush: only wet the edge of the brush with a small amount of water, then dip into your wash, again only near the edge. Do not make the whole of the brush wet – you will not get the required effect.
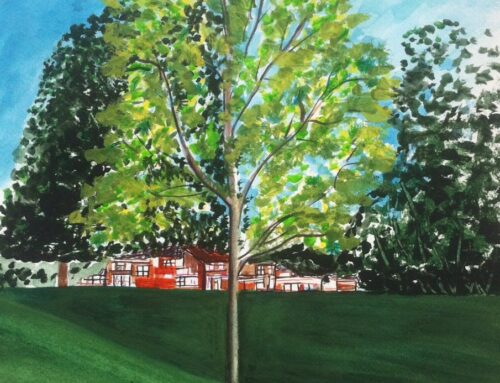
The Background Building and Boat, paint this in lighter tones of your palette to suggest recession in the distance.
The Sky – a good way to practice a graded wash. Skyscapes should suggest some form of movement. The direction you make your brush strokes or the way you let the paint move will help you to achieve this illusion. I used my chromatic mix, wet the paper first, and worked from the top of the paper. I used a strong mix for two brushstrokes (using and 1.5 inch chisel brush) and then used weaker washes of the same mix. As I worked I tilted the paper towards me so the paint moved (to a degree) downwards.

Leave A Comment